How to register checks in KIS Online
The objective of this article is to walk you through on how to register checks.
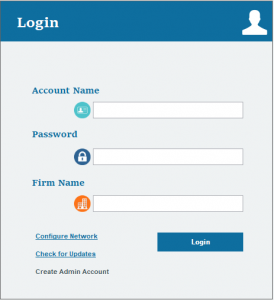
- Login to your KIS ONLINE CHECK PRINTING software.

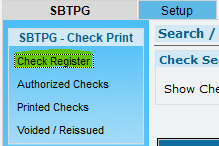
- At the top left corner, you will see several links, click on the first link that says CHECK REGISTER.

- Click on the button located at the bottom left corner labeled ADD/DELETE CHECK RANGE.
![]()
- Enter the Minimum Check Number and the Maximum Check Number and click ADD NEW CHECK RANGE.

- Your Check Register will generate the check stock you entered.
How to register checks in KIS Desktop
The objective of this article is to walk you through on how to register checks.
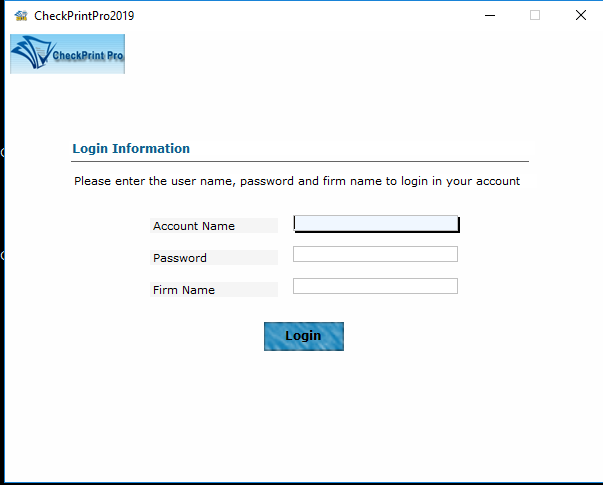
- Login to your KIS DESKTOP software.

- Click on the SETUP Tab.

- Click on the fifth icon on the left side labeled CHECK PRINT.

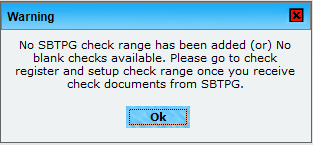
- A warning box may appear telling you there is no check range added. Click OK.

- At the top left corner, you will see several links, click on the second link that says CHECK REGISTER.

- Click on the button located at the bottom left corner labeled ADD/DELETE CHECK RANGE.
![]()
- Enter the Minimum Check Number and the Maximum Check Number and click ADD NEW CHECK RANGE.

- Your Check Register will generate the check stock you entered.
